If you use Intercom to manage your customer service function, then you know how important it is to stay on top of KPIs like First Response time and CSAT.
However, because customer support is fast moving, it’s simply not enough to check your key metrics once a week, or even once a day. The best customer service teams are constantly monitoring the customer service data in order to manage their workflow, react to changes, and stay on top of their Service Level Agreements.
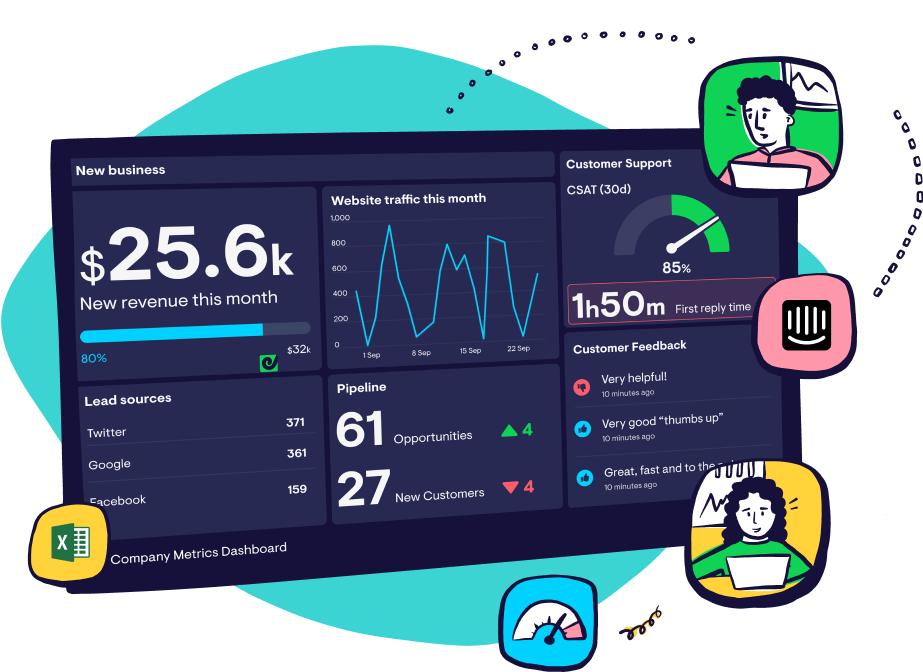
To support this, many data-driven CX teams display their key data on the wall in the form of a real-time TV dashboard. In this article, we’ll show you, step by step, how you can create a TV dashboard for Intercom.
What are the benefits of displaying Intercom data on a TV?
There are many reasons why you might display your Intercom data on a TV wallboard, where the rest of your team can maintain a watchful eye over it.
- Sudden changes: Many Intercom metrics can require urgent attention – like a sudden build up of tickets, or a rise in FRT (First Response Team). A TV dashboard will make sure everyone is aware when key numbers change.
- Data-driven teams: your team will develop a better understanding of their KPIs – how they change and why.
- Big goals; big screens: Don’t just set your KPIs then let them gather dust. By seeing how they achieve their goals, your team will become more motivated and goal-orientated.
Step-by step: Building a TV dashboard for Intercom
If you want to display Intercom metrics on a TV, you’ll need to use a 3rd party dashboard tool that:
- connects to Intercom
- connects to any other data sources you may wish to display such as Shopify, Salesforce or Hubspot.
- is optimized for TV, which means it can indefinitely be displayed in full screen, can be understood at a distance, and can be updated remotely.
Geckoboard is perhaps the most popular TV dashboard solution for Support teams and excels in all of these areas.
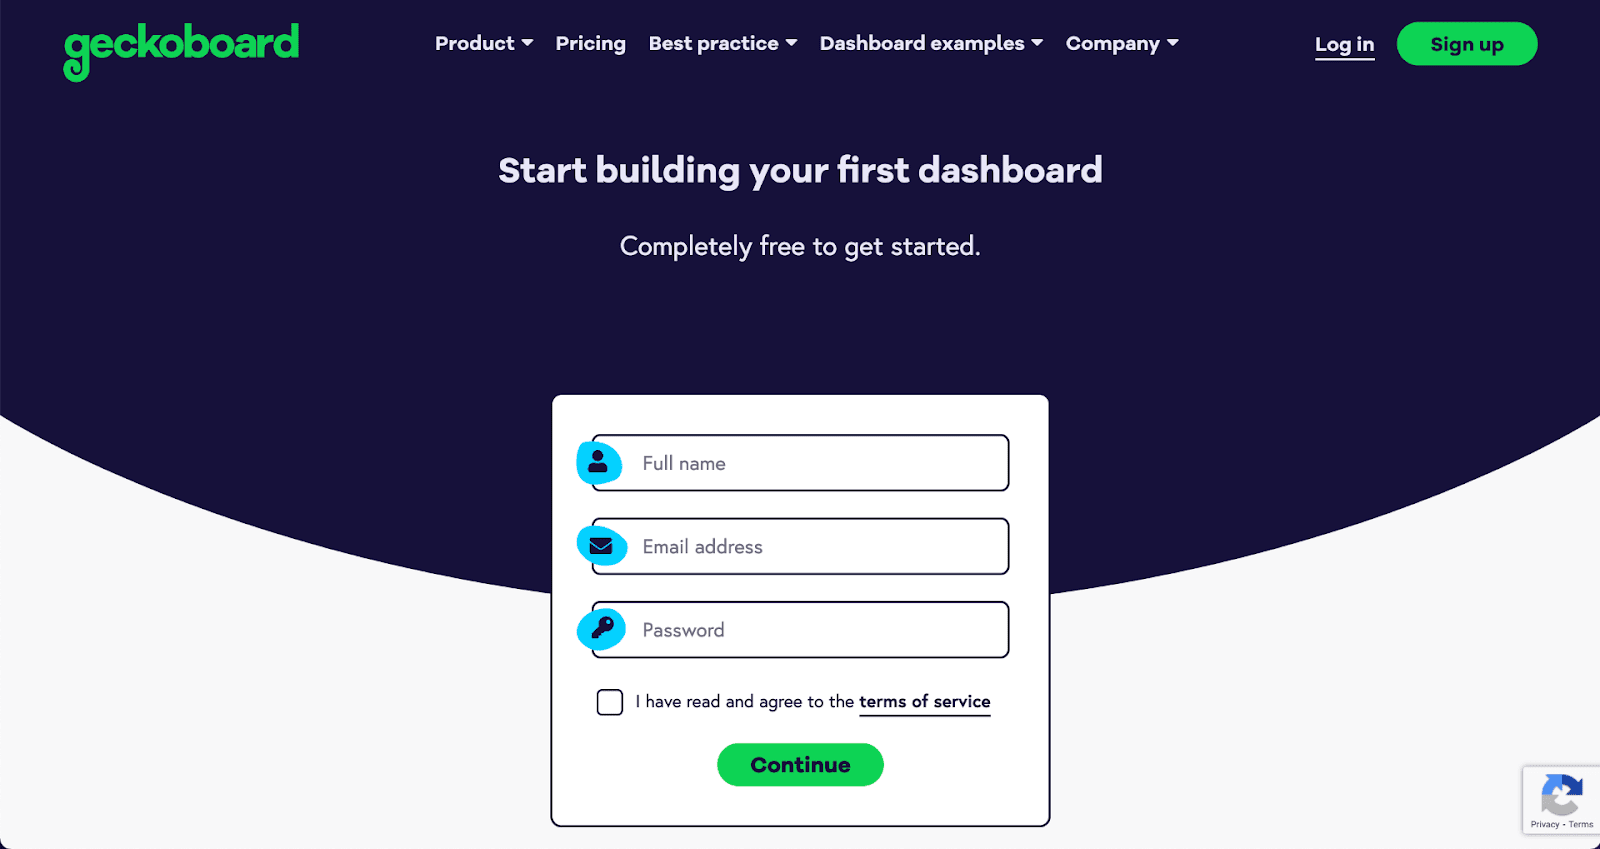
Step 1: Create a Geckoboard account
You will have full access during your 14-day free trial – there are no credit details required.
Step 2: Connect your Intercom account
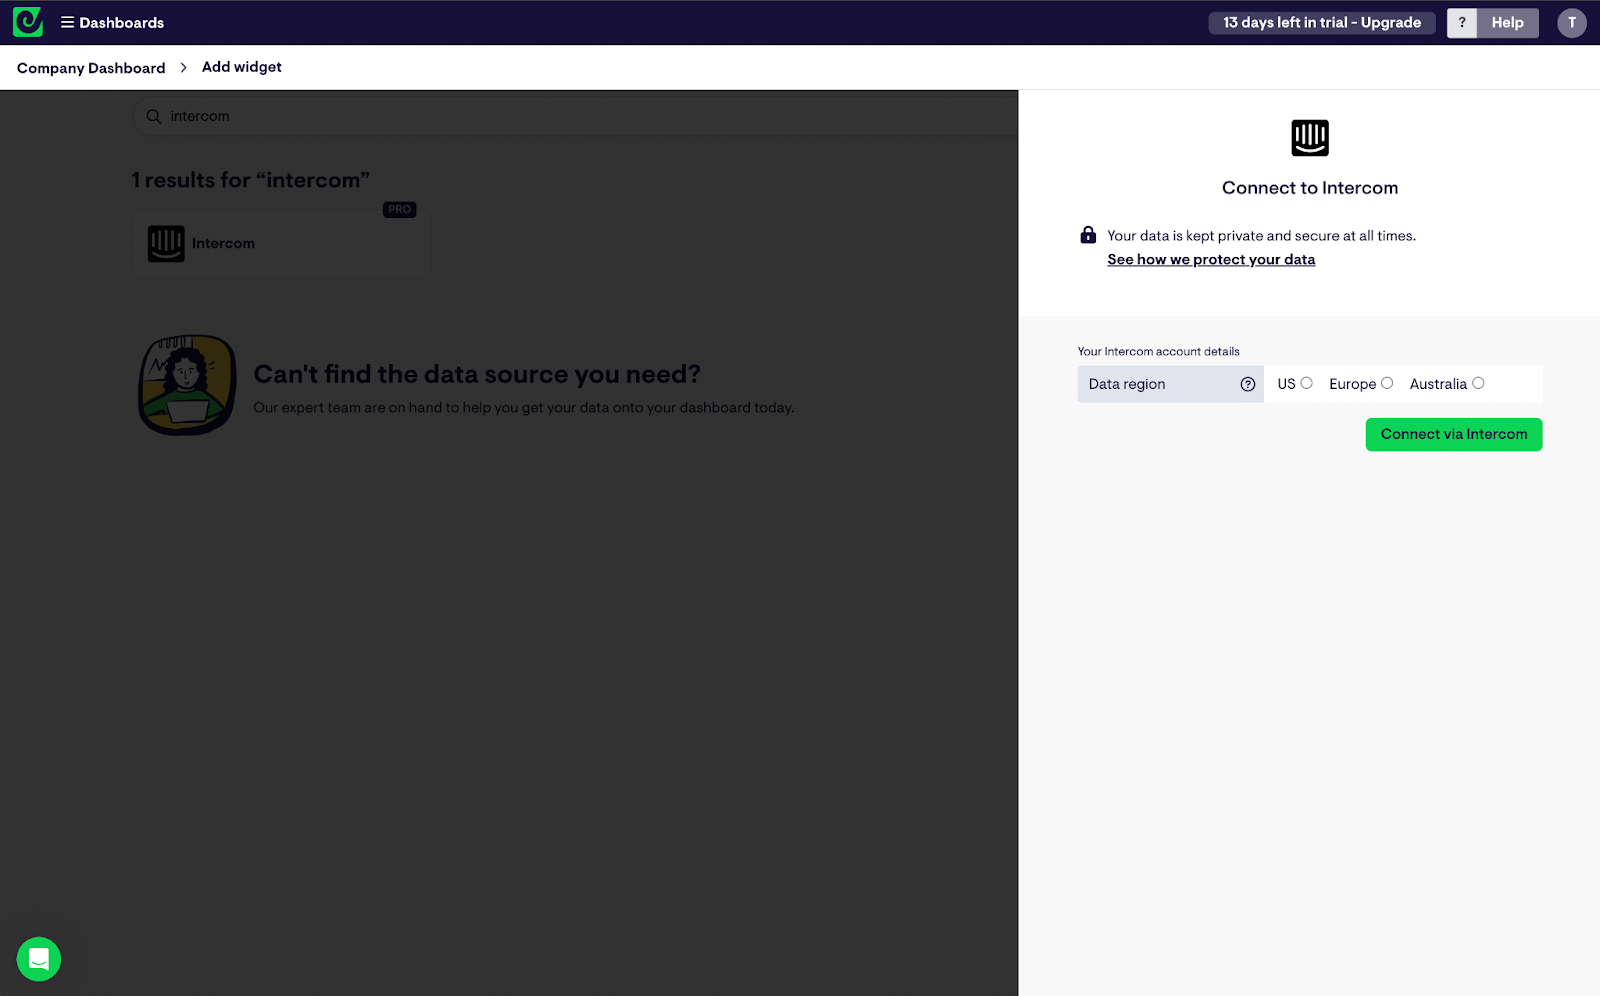
To get started, click ‘add widget’ and select Intercom
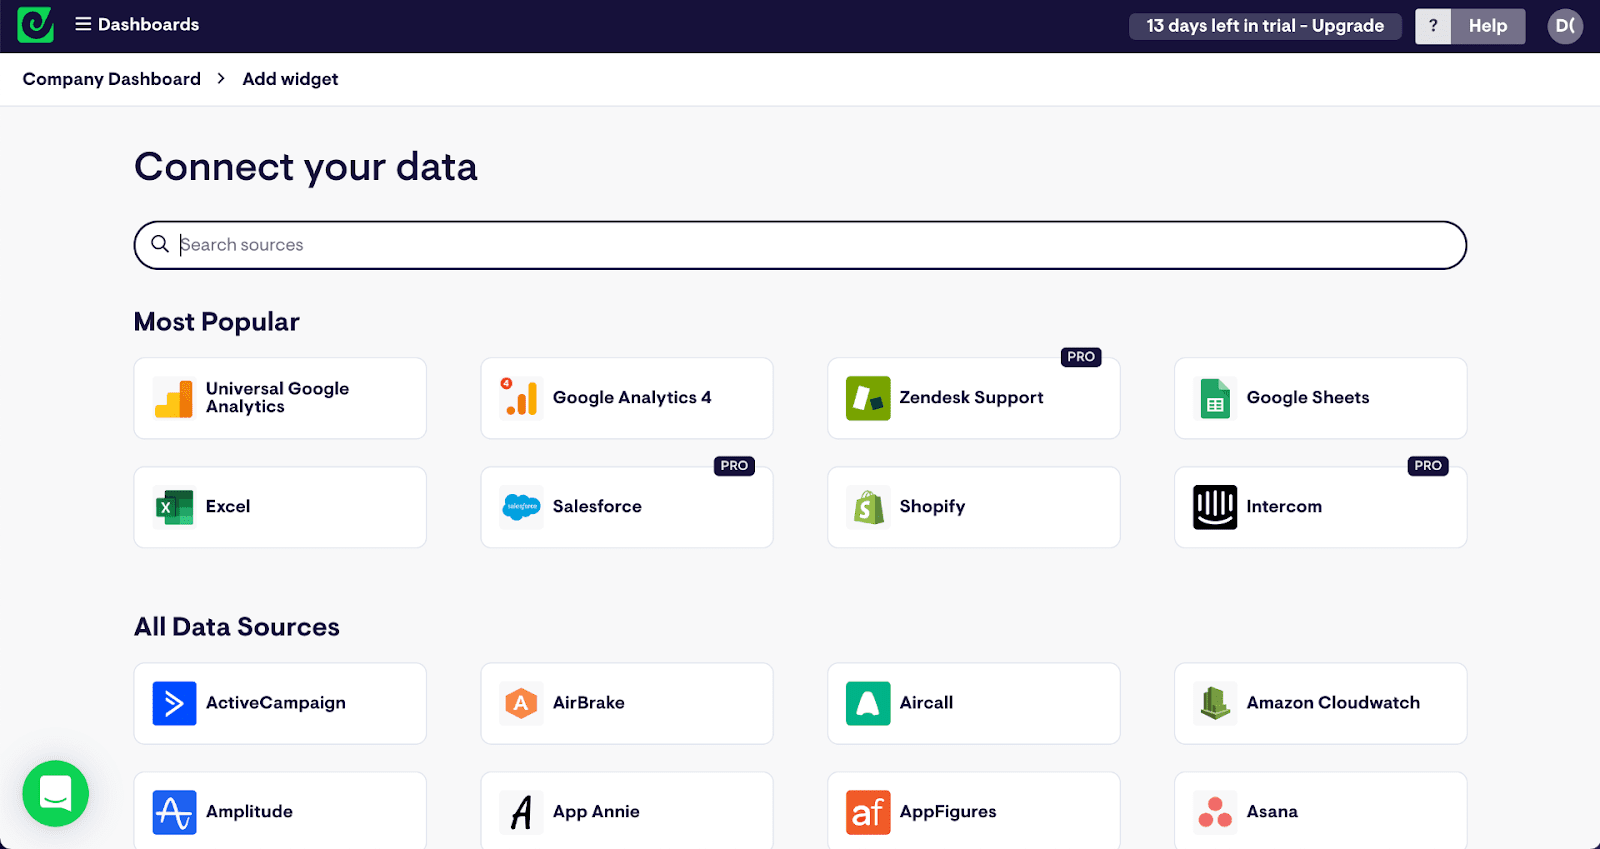
Choose any of the widget options to get started, then follow the instructions to connect Geckoboard to your Intercom account.
Step 3: Create a widget
Now you’ve connected your Intercom data, you can start building widgets. (A widget is simply a data visualization: such as a bar chart, a leaderboard, a gauge or a number.)
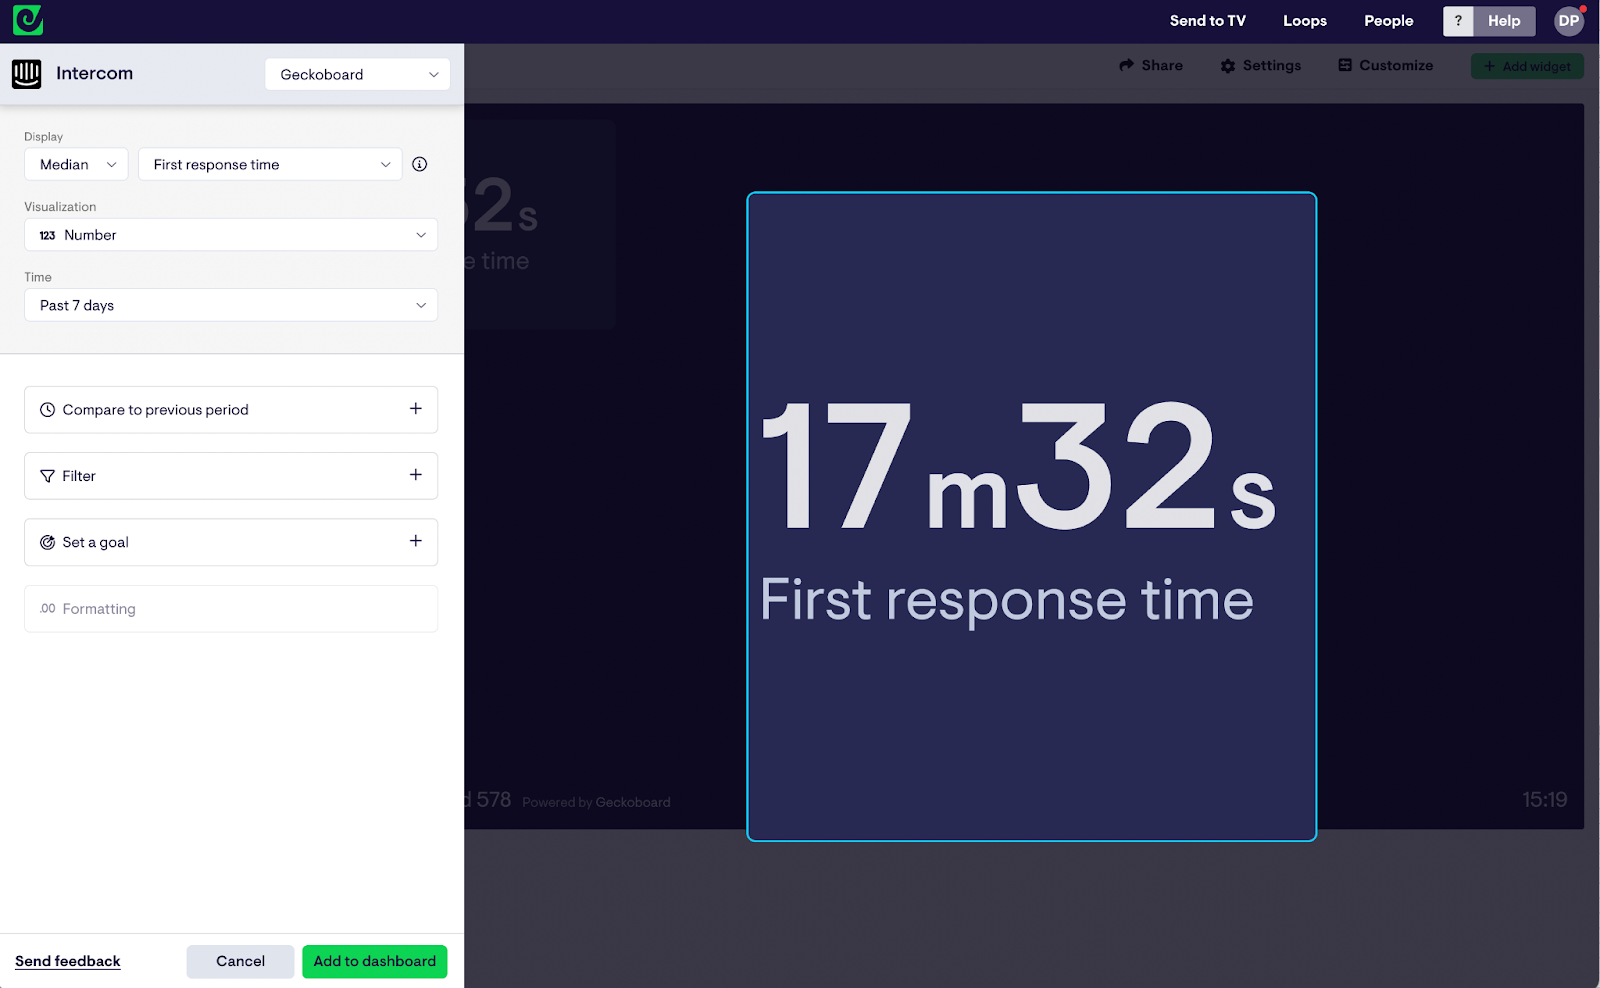
You can make your widgets even more useful by adding goals and status indicators. This helps your dashboard users to understand if a metric is good or bad, and if they need to take action.
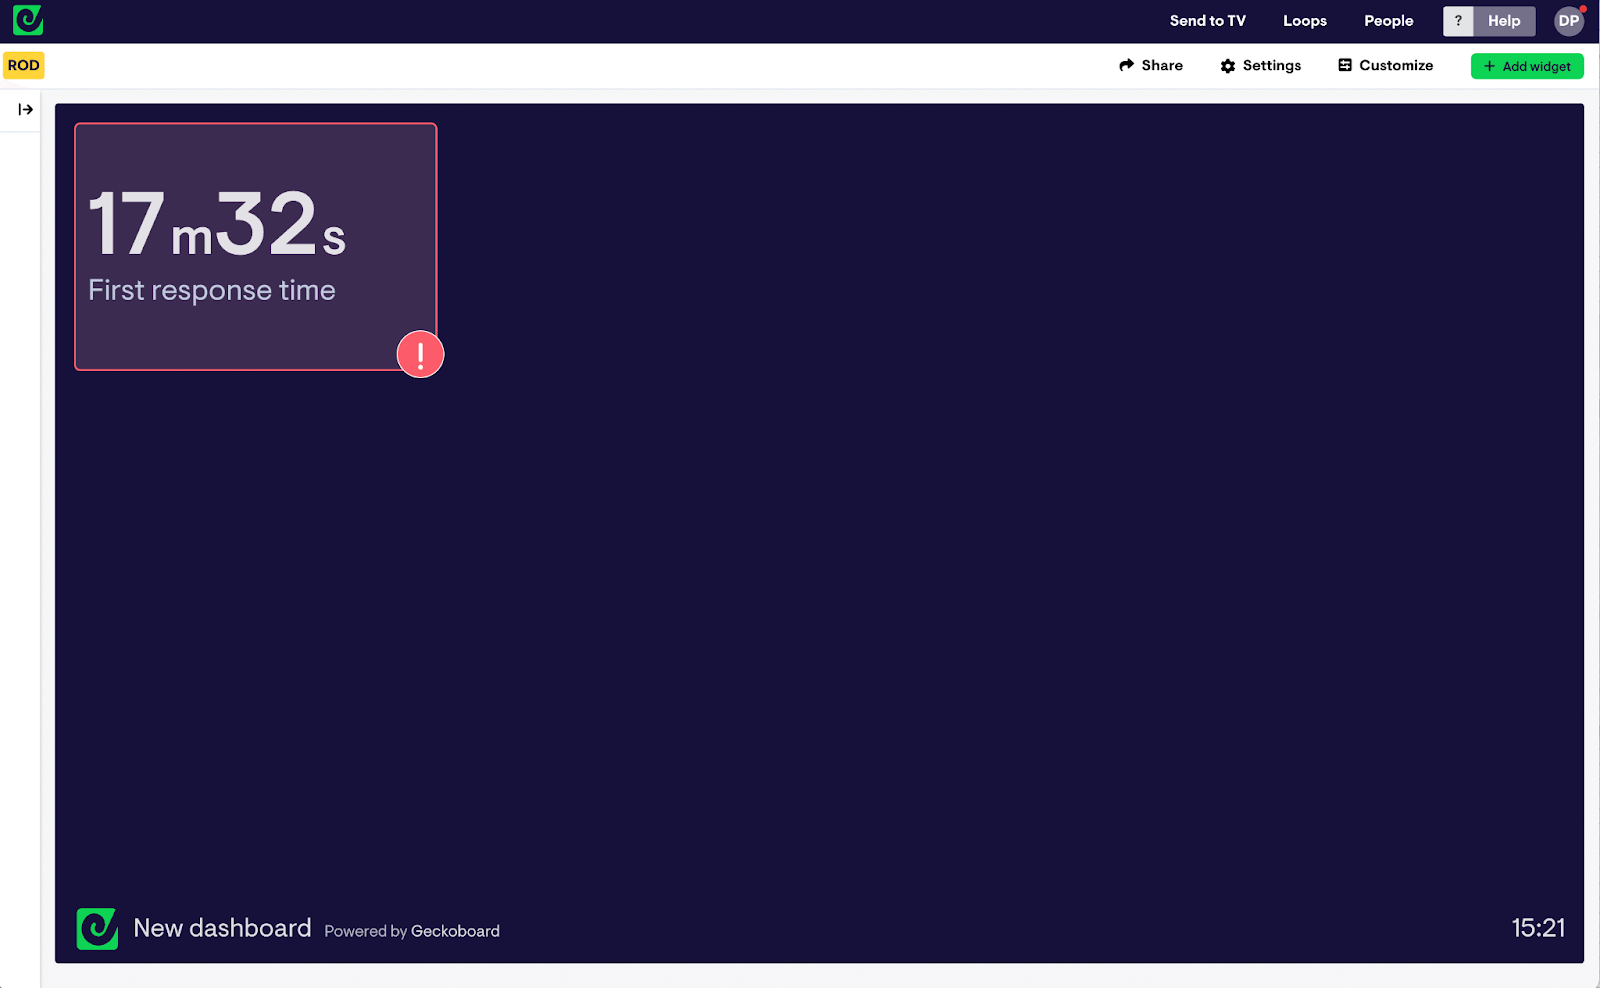
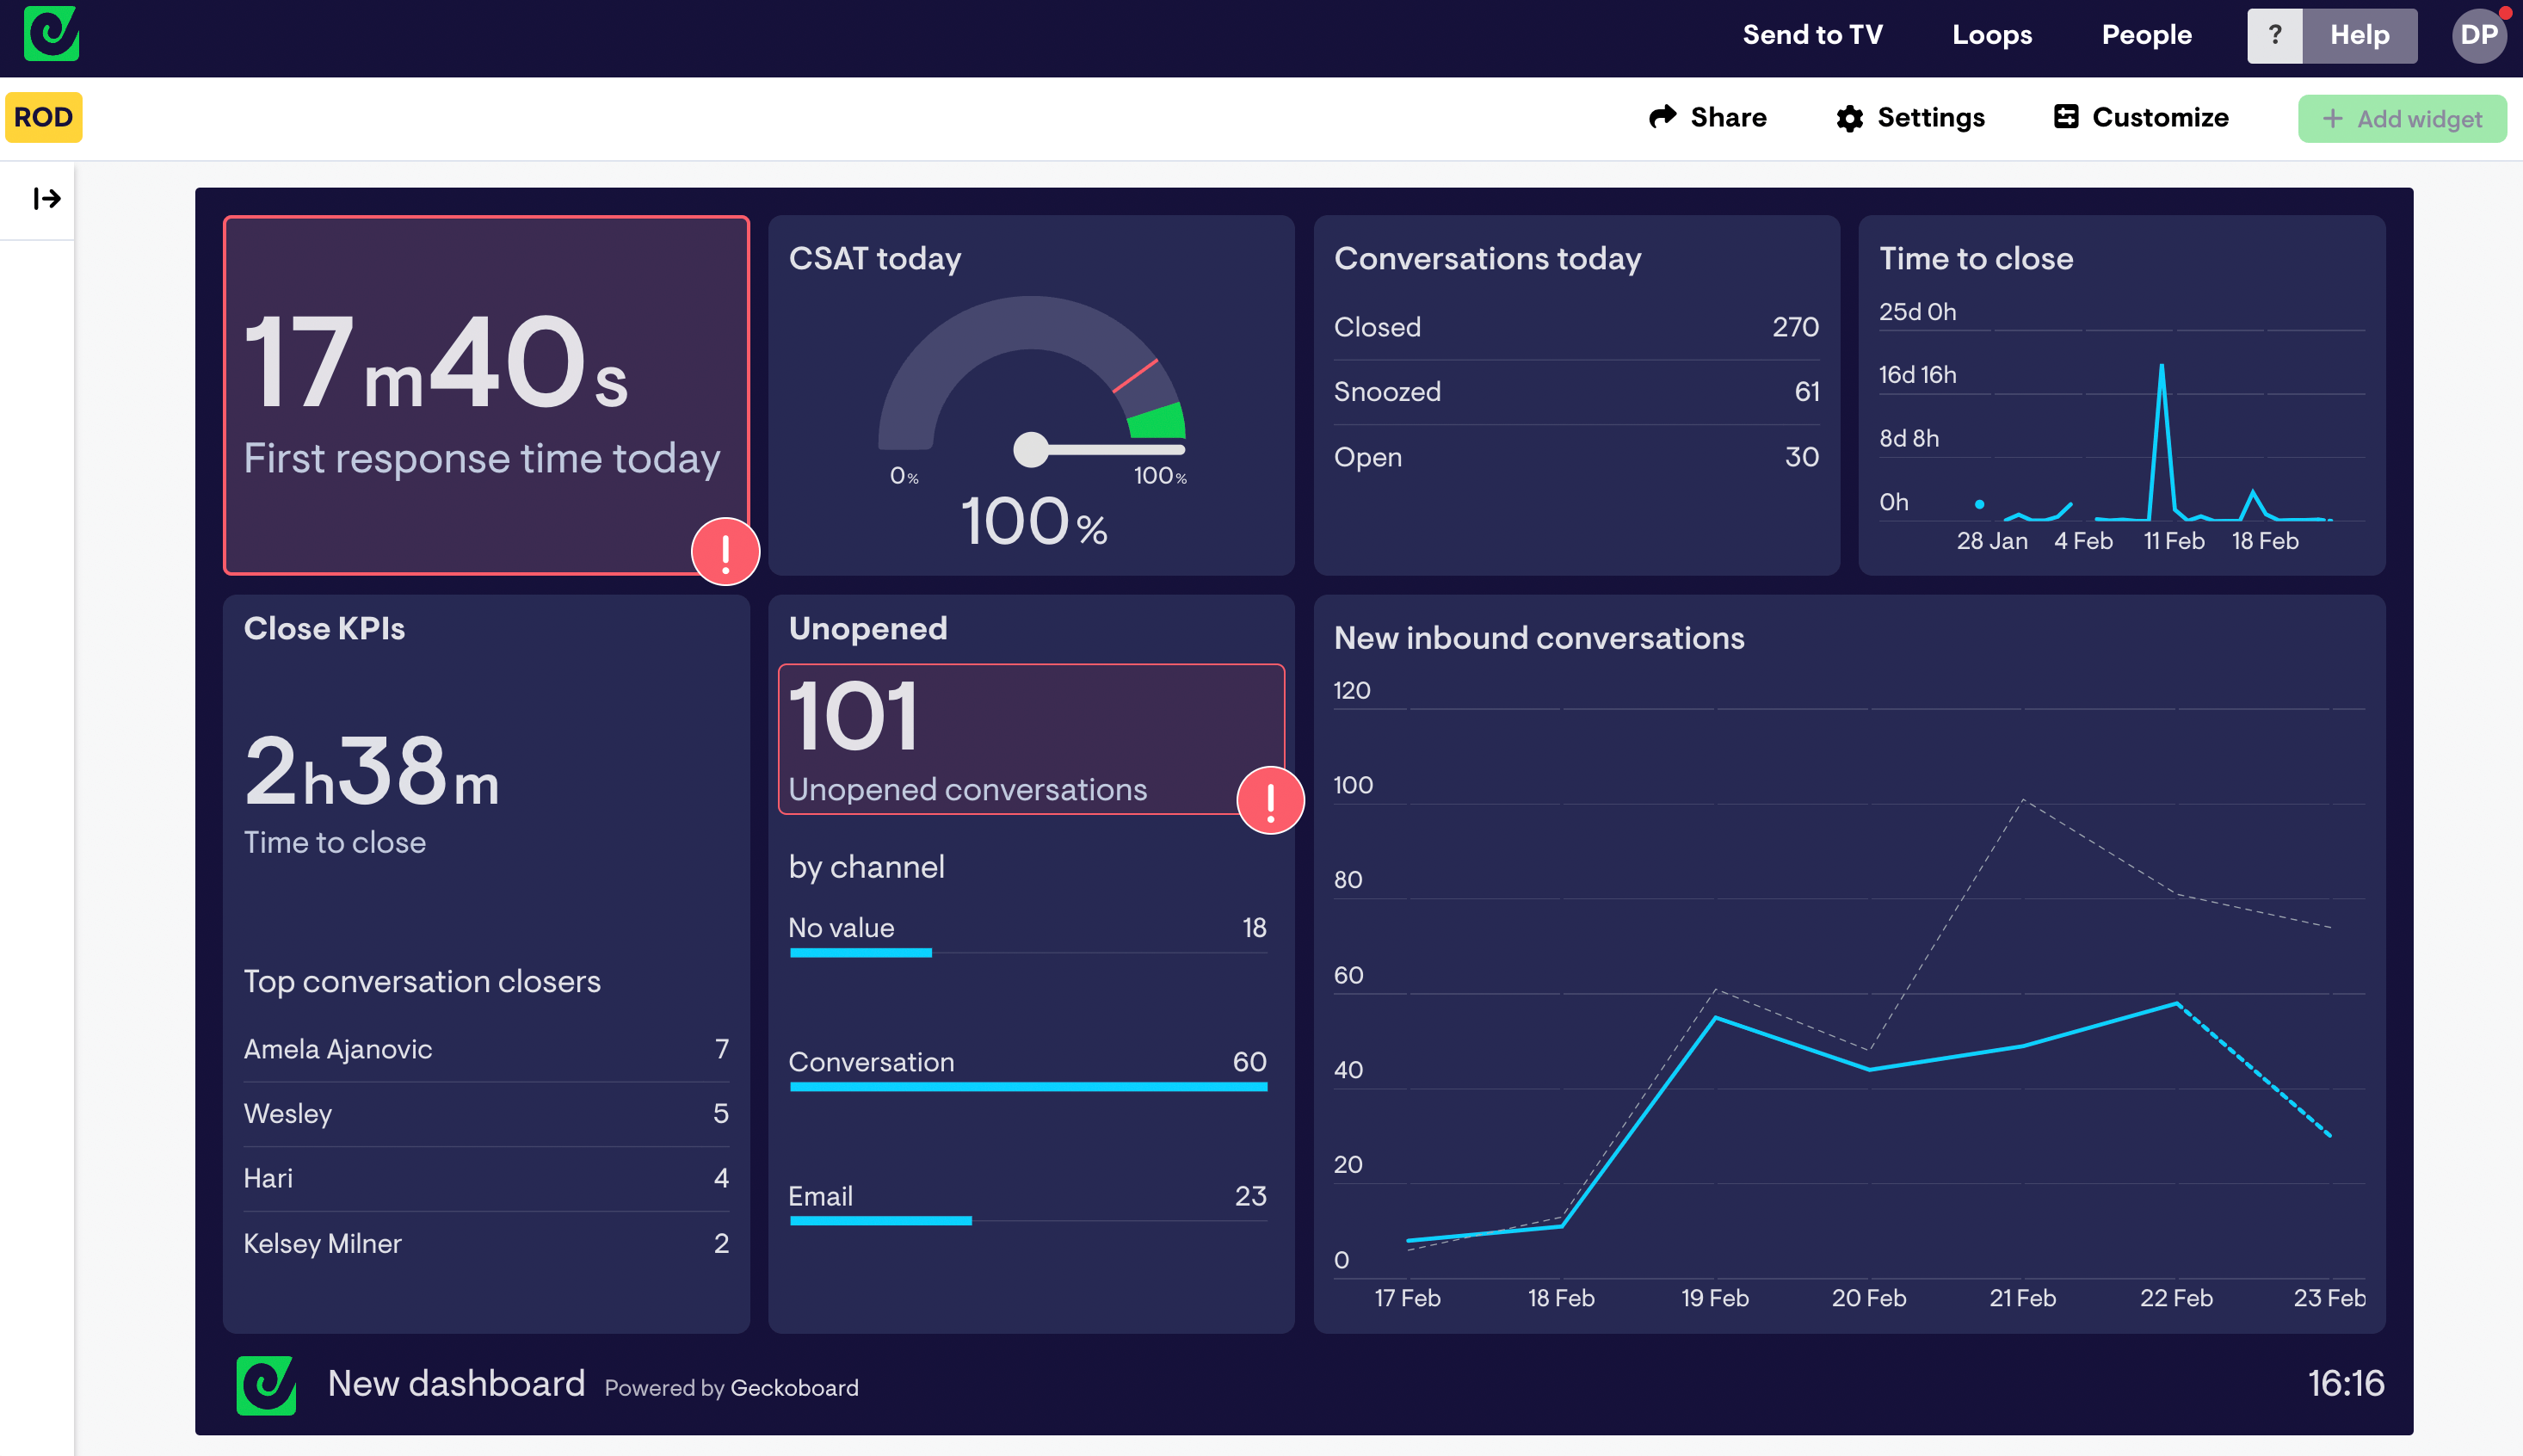
Step 4: Build up your dashboard
Now you know how to create one widget, you can start to build out your dashboard. Tweak your widgets by resizing them, or even grouping related metrics together.
Think about what metrics you want to include on your dashboard, and how to arrange them visually. You should put your most important metrics in the top left hand corner, so your team notices them first.
For more dashboard design advice, check out our guide to dashboard design.
Step 5: Choose the right hardware for your TV dashboard
In order to display your Intercom dashboard on a TV, you will need the following hardware:
- A TV – any HD TV screen should work. You could use a computer monitor but these tend to be smaller and more expensive.
- A small computer (one that can run a modern browser like Chrome or Firefox). By choosing a small computer it makes it easy to store the device discreetly behind the TV. We recommend a PC stick or Raspberry Pi, which are small and inexpensive.
- A HDMI lead to connect your screen to your computer.
We’ve put together a complete guide to selecting the best TV dashboard hardware. (Including why we don’t recommend using a Smart TV, Amazon Firestick or casting device to power your TV dashboard.)
Step 6: Setting up your TV dashboard
Now you have your hardware, it’s time to set up your TV dashboard.
Positioning your TV
Think carefully about where you are going to place your dashboard and who will need to see it. Think about how easy it will be to glance from where they are working.
Kiosk mode
We highly recommend you set up your computer device in kiosk mode. Kiosk mode configures the device so that it runs a single application when it’s turned on, effectively meaning it will always open on your dashboard, every time the device is booted up.
We’ve created some step by step guides to setting up Windows devices and Raspberry Pi in Kiosk mode.
Step 7: Connect Geckoboard
Login to Geckoboard using a different computer, and select ‘Send to TV’. Then simply follow the instructions to pair your TV to your dashboard.
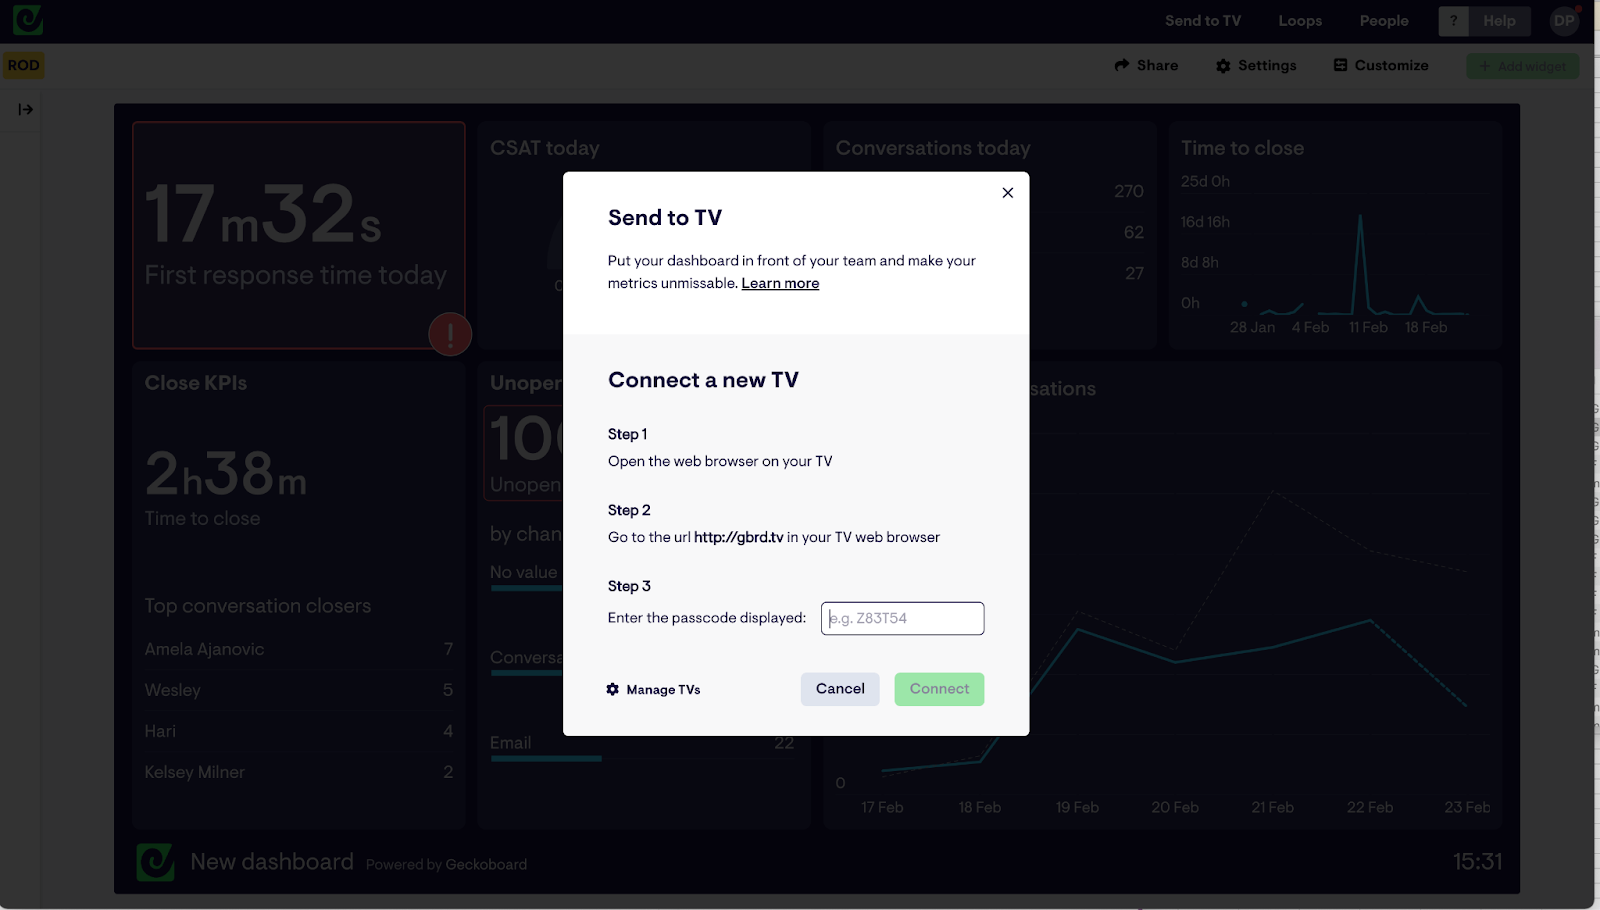
Here you can manage your different TV connections, connect a screen using a short URL and passcode, and even choose several dashboards to be displayed on a loop.
We hope you found this guide useful. Click here to start your free trial with Geckoboard and create dashboards for Intercom and over 90 other different data sources.