Written by Zendesk Consultant, Jude Kriwald.
Learn why calculated attributes matter in Zendesk Analytics (formerly Explore), explore real examples, and follow practical steps to build your own using this library.
Zendesk Analytics provides a strong set of default attributes, but they often fall short when it comes to answering more specific questions. That is why many teams build custom attributes, also known as calculated attributes in Zendesk Analytics. These let you reshape, group, or label your data so that it matches how your organisation actually works and thinks. This guide explains what calculated attributes are, how they work, and highlights examples from the Geckoboard custom metrics and attributes library. It also includes step-by-step instructions for creating your first custom attribute.
Why you need custom attributes
Attributes act as the “dimensions” or labels of your reports. They are what you place on rows, columns, or filters to break down metrics. Default attributes cover the basics, such as ticket status or agent name, but they rarely align perfectly with your team’s KPIs or the way your workflows are structured.
Calculated attributes bridge this gap. They allow you to rename, regroup, or combine fields in ways that make sense for your reporting. This makes dashboards easier to read and ensures stakeholders are looking at meaningful categories rather than raw system data.
The core structure
Like calculated metrics, calculated attributes are usually built with the IF/THEN/ENDIF structure. This logical pattern checks for conditions and assigns a label based on the results.
Example Structure of How to Use IF, THEN and ENDIF shows this in its simplest form. It classifies tickets as “Urgent” or “Not Urgent” based on priority (rather than Urgent, High, Normal, and Low). This is the foundation structure that more complex attributes build on, and it shows how quickly you can start reshaping reports to match what matters most to you.
Building your first custom attribute
Follow these steps to create a calculated attribute using code:
- Go to Analytics → Report Builder and select the dataset you want to use, such as Support - Tickets or Voice - Calls.
- Click the Calculator icon in the right-hand panel.
- Choose Standard calculated attribute.
- Copy the code from the library and paste it in.
- Replace placeholders such as
[Call Talk number]or[Assignee email]with the exact field names relevant to your instance.
A handy tip is to use the Select a Field button. This makes sure the correct field name is inserted and avoids spelling mistakes.
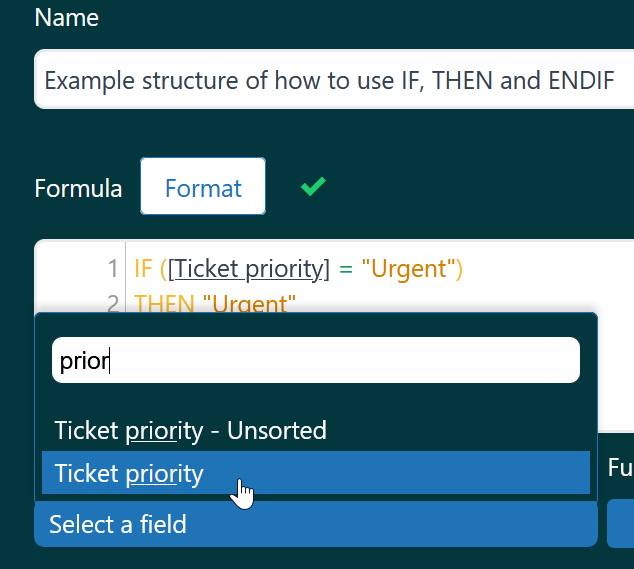
- Check for the green validation tick to confirm your syntax is correct. If errors appear, change only one part of the code at a time so you can narrow down the issue, always ensuring you see the green tick when you’ve finished working on a section.
- Save the attribute with a clear name, for example “Call Duration Brackets (Custom)”.
- Under Rows or Columns on the left, select Add and search for your new attribute.
- Add a metric such as Inbound Calls or Solved Tickets, then apply your new attribute to break down the results into useful categories.
Best practice tips
- Use the code in this library as templates to speed up the build process.
- Keep attribute names short and meaningful to improve dashboard clarity.
- Update attributes whenever you add new phone lines, fields, or domains.
- Always validate by spot-checking records against the attribute output.
- Document your attributes so everyone understands what they do, especially when you revisit complex logic months later.
Summary
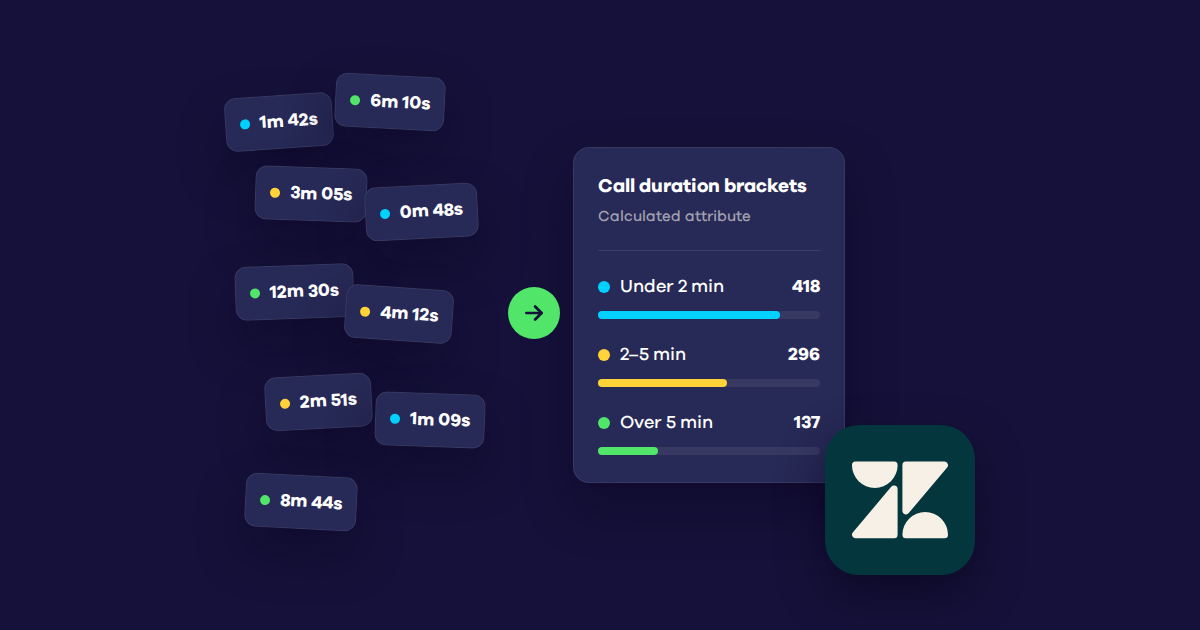
Calculated attributes give you control over how data is organised and displayed in Zendesk Analytics. Instead of relying on the system’s raw fields, you can reshape them into categories and labels that actually make sense for your team. Attributes like Phone Line Name or Abandon Location inc. Short-Abandoned turn meaningless system values into meaningful groupings, while others like Call Duration Brackets (Custom) or Split Agents by Domain/Company (Support) provide new angles of analysis that are simply not available by default.
With a handful of well-built attributes in place, dashboards instantly become clearer, easier to read, and far more relevant to the questions your stakeholders are asking. If you need a refresher on the underlying logic, see Using IF, THEN, AND, OR, and ENDIF in Zendesk Analytics and the example templates in the library.

