Written by Zendesk Consultant, Jude Kriwald.
Learn how IF, THEN, AND, OR, and ENDIF work together in Zendesk Analytics (formerly Explore) so you can build calculated fields that reflect your exact business rules.
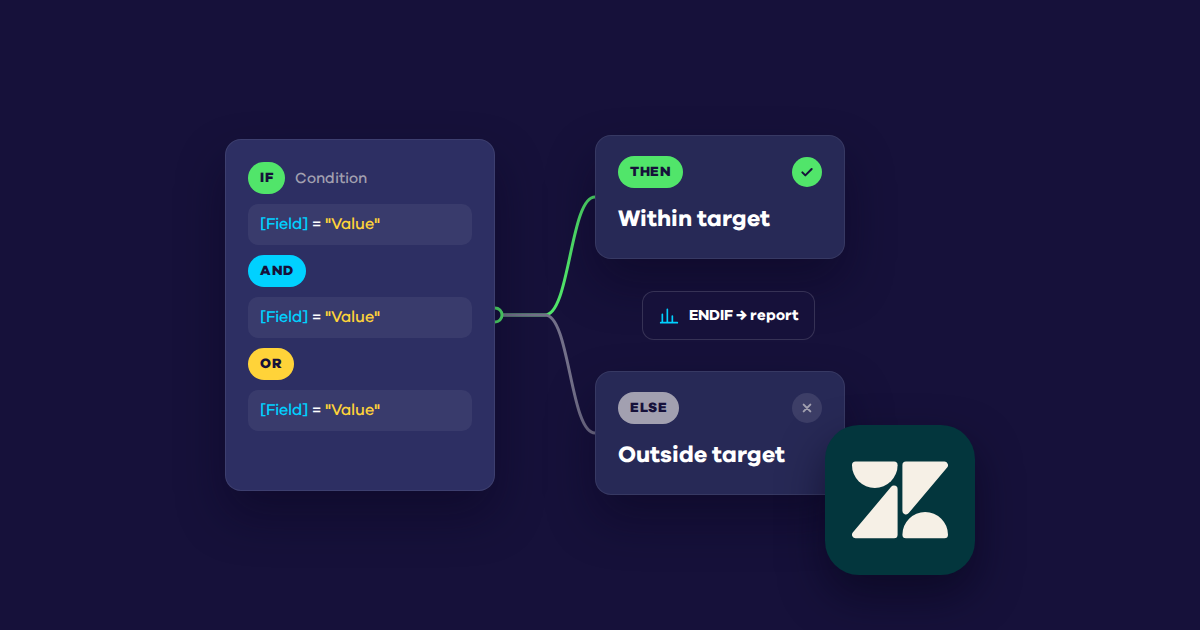
As anyone starting out with custom code in Zendesk Analytics will quickly learn, the building blocks of most custom attributes or metrics are the IF, THEN, AND, OR, and ENDIF statements. Whether you are creating calculated metrics or calculated attributes, you will use these operators again and again. They allow you to hard-code conditions, combine filters, or split your data into neat categories that Zendesk Analytics reporting simply does not provide by default. This guide explains how each operator works, how they fit together, how to make your first one, and highlights practical examples from the Geckoboard custom metrics and attributes library.
Why these operators matter
On their own, Zendesk Analytics’ default metrics and attributes can only take you so far. IF and THEN are the tools that let you embed business rules directly into your reporting. Adding AND and OR means you can handle multiple conditions at once, while ENDIF tells Anlytics when the logic finishes.
Without these, you would be limited to dragging and dropping whatever attributes and metrics Zendesk makes available. With them, you can translate your exact rules into code and get accurate, reliable results every time.
IF, THEN, and ENDIF
These three always work together:
- IF tells Analytics to check whether a condition is true.
- THEN tells Analytics what to do if that condition is true.
- ENDIF closes the block and signals that the logic is complete.
By default, we leave this as [Ticket ID] — this is simply the identifying value that Zendesk returns for each ticket. It doesn’t mean you’ll get a list of unhelpful Ticket IDs; it just ensures the ticket is counted when the condition is true.
For example:
Copy
IF ([Ticket status] = "Solved")
THEN [Ticket ID]
ENDIF
This simply returns tickets where the status is Solved. You can then apply functions such as COUNT, SUM, or D_COUNT to produce the numbers you need.
Creating Your Own Metric with Hard-Coded Filter shows this structure in action. It locks a condition directly into a metric, which avoids clashes with dashboard filters and produces more reliable results.
AND and OR
You rarely want to check for just one condition. This is where AND and OR come in. If you’re familiar with Zendesk triggers or automations, you can think of them just like the All and Any sections there.
- AND means both conditions must be true (like All in triggers).
- OR means either condition can be true (like Any in triggers).
Take True One-Touch Talk Tickets. It uses AND to ensure both “Channel = Voice” and “Agent replies = 0” are true before counting the ticket as one-touch. Without AND, you could end up counting tickets that don’t match your definition.
OR is useful when you want to capture more than one possible scenario in a single formula. For example, you could write a metric that counts tickets where the channel is “Chat” OR “Email”. Both would be included without creating two separate metrics.
Step-by-step: writing your own IF/THEN formula
Follow these steps to get started with your own IF/THEN logic:
- Go to Analytics → Report Builder and select the dataset you want to use.
- Click the Calculator icon and choose Standard calculated metric or Standard calculated attribute.
- Start with the basic skeleton:
Copy
IF (
[Attribute] = "Value"
)
THEN [Ticket ID]
ENDIF
- Highlight and delete
[Attribute]and replace it by selecting the field you want using the Select a field drop-down. - Replace
"Value"with the value you are looking for, such as"Solved". Keep the quotation marks for text-based values. If you’re unsure of the exact values available, add the attribute as a filter in the UI and inspect the options it presents.
Copy
IF (
[Ticket Status] = "Solved"
)
THEN [Ticket ID]
ENDIF
- Add AND or OR to expand conditions. For example:
Copy
IF (
[Ticket Status] = "Solved"
AND
[Ticket Group] = "Support"
)
THEN [Ticket ID]
ENDIF
Formatting your code clearly helps you understand what’s going on. Line breaks do not affect Analytics, so feel free to format each logical section on separate lines.
If you prefer, the same code could be written more compactly:
Copy
IF ([Ticket Status] = "Solved" AND [Ticket Group] = "Support")
THEN [Ticket ID]
ENDIF
- If you need more than one outcome, add ELIF (Else If) blocks.
- Validate, save, and test the output against sample data.
Best practice tips
- Start simple and test the basic IF/THEN before adding AND, OR, or multiple conditions.
- Use code snippets from the library to learn the structure quickly and ensure you begin with working syntax.
- Keep indentation clear in longer formulas so the logic is easy to read.
- Remember to wrap up with
ENDIF— forgetting it is one of the most common causes of errors. - Read through and sense-check each variation carefully before relying on the results.
Summary
IF, THEN, AND, OR, and ENDIF are the backbone of calculated fields in Zendesk Analytics. They allow you to tell Analytics what to look for and what to do when it is found. Whether you are filtering for one-touch Talk tickets, separating abandon locations, or creating hard-coded filters, these operators let you embed your own rules directly into metrics and attributes. Once you are comfortable combining them, you can design reporting logic that matches your processes with far greater accuracy than Zendesk Analytics offers out of the box—just as you might build formulas in Sheets or Excel.

