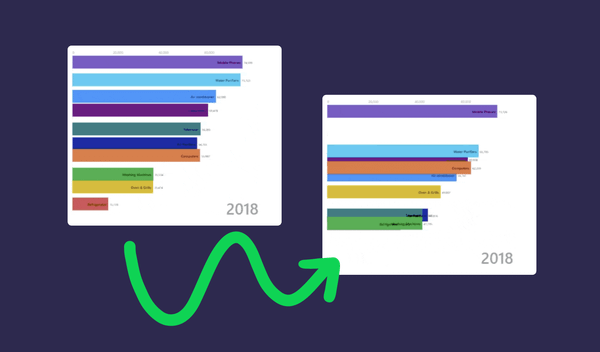
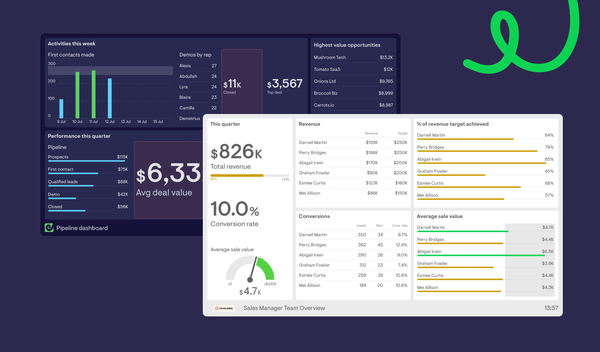
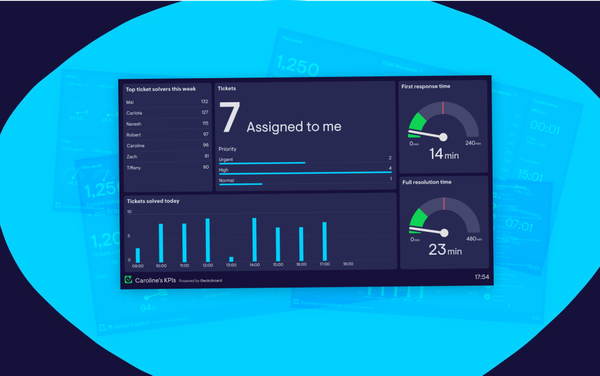
This is the first of two posts where we’ll look at the most effective data visualizations and describe how and when to use each one. (Data Visualizations, Part 2) The three visualizations we’ll discuss in this post are Line Chart, Leaderboard, and Gauge.

If you want to digest data quickly, it’s imperative to have clear, intuitive data visualizations. But with far too many visual combinations available on the market (looking at you Microsoft Excel), it’s easy to create excessively artistic dashboards that overwhelm the viewer.

how-about-no-meme

Source: Know Your Meme

A well-designed dashboard should focus on the message the dashboard is trying to convey. The visuals for every key performance indicator (KPI) should inspire action. Before we discuss the visualizations that make a great dashboard, let’s review what should not be on your dashboard.

Any component or visualization that is not directly contributing to the message should be removed. This includes:

  • Logos - In some instances logos are required, but be mindful if it’s truly necessary.
  • Navigation - Dashboards work best when they can be understood in a glance, so if you need to include navigation options on your dashboard to drill down or filter the information on there, have you really thought about the metrics?
  • Non-essential text - Labels can help provide context to sections of your dashboard, but if used excessively they can add unnecessary clutter and create more questions than they answer. Avoid unnecessary labeling and instructions.
  • Too much color - Don’t force the user to wear sunglasses to read your dashboard! Too much color (either amount of color or number of colors) creates a cognitive barrier for viewers when trying to digest data quickly.
  • 3-Dimensional objects - We’ve never seen a dashboard where 3-D enhances the message. Avoid at all cost because the additional angles create another cognitive barrier which can lead to misinterpretation of data.
  • Horizontal or vertical grid lines - In some instances grid lines are useful, but overusing them detracts from the data
  • Too much detail - Displaying revenue in the format $1,254,345.67 to the CEO creates a headache - surely she simply wants to see $1.25m. Right?

At the very heart of good dashboard design are a finite number of appropriate data visualizations. Here are three of the most common and effective ways to visualize data (sometimes referred to as widgets): Line Chart, Leaderboard, and Gauge.

Line Chart Visualization

Line charts (sometimes called line graphs) display information as a series of data points connected by straight line segments on an X-Y axis. They are best used to track changes over time, often using equal intervals of time between each data point - for example, monthly earnings.

Whether you’re tracking the fluctuation of stock prices or the number of new subscriptions to your app this month, line charts give you an accurate and understandable assessment of the trend, acceleration, deceleration, and volatility of the data in question.

multi-line-series-line-chart-visualization-example

Anatomy of the line chart

line-chart-anatomy-example

The line chart consists of an x-axis and a y-axis. The x-axis values are defined as number or date/time values. Y-axis values must be numbers and can be set to be interpreted (formatted) as a decimal, percent, and currency.

This visualization supports more than one series of data with each series corresponding to a unique line in the chart.

When to use a line chart

Line graphs are useful in that they show data variables and trends very clearly and can help to make predictions about the results of data not yet recorded. If seeing the trend of your data is the goal, then this is the chart to use. When used on a dashboard, line charts show time-series relationships using continuous data.

They allow a quick assessment of acceleration (lines curving upward), deceleration (lines curving downward), and volatility (up/down frequency). They are excellent for tracking multiple data sets on the same chart to see any correlation in trends.

They can also be used to display several dependent variables against one independent variable. Some experts recommend no more than 4 lines on a single graph and we agree. Any more and the line chart becomes difficult to interpret.

Line chart example uses

Line charts are great visualizations to see how a metric changes over time. For example, the exchange rate for GBP to USD.

line-chart-visualization-USD-GBP

Another use for line charts is comparing two or more series of data over time. For example, the difference in median household income between California and the rest of the United States in the ‘90s.

line-chart-visualization-example-ca-us-income

Tips for creating line charts

With their innate simplicity, line charts are some of the easiest visualizations to get right. Add a little polish, and your data can really shine. Two tips to keep in mind:

  1. Use only related data in a single visualization.
    Don’t try to plot different things on the same chart (e.g. conversion rate and $ revenue) since they will require different y-axis.
  2. Use a maximum of four series.
    Less is more when it comes to making your visualization easy to understand at first glance. Multiple series are great for comparing the behavior of one metric to another, but too many comparisons could be an overkill. If you ever need more than 4 series, consider creating more than one visualization.

Leaderboard Visualization

Leaderboards are a visualization of achievement. The purpose of a leaderboard is to show people or things in rank order. When tracking people or teams, a sense of healthy competition is encouraged. Those at the top enjoy the notoriety it brings and for everyone else, the leaderboard shows them where they stand relative to their peers.

leaderboard-visualization-example

Anatomy of the leaderboard

leaderboard-visualization-anatomy

A leaderboard consists of a ranked list of items each with a label and optionally a value. Additionally, each item may have a previous ranking value to which the current value is compared and indicated with either a green up arrow for an item that has risen in rank or a red down arrow for a list item that has fallen in rank.

When to use a leaderboard

Leaderboards serve many purposes, but three powerful ones are:

  1. Measuring Progress / Achievement: Leaderboards provides a way to visualize your skill progression. As you become better, you get higher scores, and you're able to compare it with past performances.
  2. Status: Many team members are motivated to keep playing and improving because seeing your name on a leaderboard provides status. Most individuals feel pretty good when they see they're better than a bunch of other peers.
  3. Providing a sense of what's possible: In a global, absolute leaderboard, the highest score gives you a sense of what's possible. If you know the best team member has 300,000 points and you're 'stuck' at 200,000, you will know it's at least possible to increase your skill to reach that higher score. The caveat here is that if the leaderboard displays cheaters (like pretty much every iOS game center leaderboard I've seen), you completely lose this benefit - and this goes from being a positive to a negative. If the highest score is outside of the realm of possibility, or everyone has it, then it's not a realistic measure of potential skill.

Leaderboards should always be encouraging, never discouraging. They provide positive pressure for sales representatives to own their leads and improve their ranking among peers. This visualization is quite efficient at conveying information.

Leaderboard example uses

A leaderboard is an ideal and robust choice if you have a data set that is best represented by an ordered list and find it especially useful to indicate which items have risen and fallen relative to other items in the list.

A common use for a leaderboard is to represent a sales team. Each item in the list would represent a salesperson and their sales (number or dollar) over a period of time.

A leaderboard could also be purposed to display the downloads of software products from a company's website. Each product would be listed with the total number of downloads in a given period and if you chose, how each product has increased or decreased in popularity in comparison to the other products.

Tips for creating leaderboards

To make your leaderboard truly engaging and motivational, you can sort it by different elements. Leaderboards can be set up in several different ways:

  • Locally: Players see their rank relative to that of others in their geographic area.
  • Contextually: Sets up the leaderboard to show leaders by category.
  • Time: Sets up the leaderboard to show, for example, weekly or monthly leaders.

Gauge Visualization

When it comes to designing dashboards, people often turn to gauges as a way of representing a single data point that fluctuates over time. A gauge (or as we like to call it - Geck-o-Meter) displays a target range by setting an upper bound and a goal.

gauge-visualization-geck-o-meter-example

A gauge is particularly helpful when there’s a normal or expected operating range. It’s a bit more visual than just a raw number or a number with a goal. The needle on the gauge makes it easier to see a significant change - particularly if you’re regularly looking at this visualization on your dashboard.

The Geck-o-Meter is a gauge visualization designed as simple as possible to enhance data communication. The Geck-o-Meter is most useful to quickly see a metric in comparison to defined minimum and maximum values.

Anatomy of the gauge

gauge-visualization-anatomy

  1. Widget title – Describes the widget briefly. The default here is Geck-o-Meter
  2. Current value – The current value sits at the top (-5 and 804 respectively, in the above examples) and shows the exact numeric value at the time of reading.
  3. Maximum – This is the maximum defined value (20 and 1,000 respectively, in the above examples).
  4. Needle - The needle on the Geck-o-Meter is positioned along the span at the current value relative to the minimum and maximum values.
  5. Minimum – This is the minimum defined value (-20 and 100 respectively, in the above examples).
  6. Goal - A threshold defined by you (4 and 800 respectively, in the above examples). When surpassed, the current value is highlighted to alert viewers.

When to use a gauge

Gauges are a great choice to:

  • Show progress toward a goal.
  • Represent a percentile measure, like a KPI.
  • Demonstrate the health of a single measure.
  • Display information that can be quickly scanned and understood.

Gauges are ideal for displaying data that:

  • Has a clearly defined range (minimum and maximum) of values.
  • Can be represented with a single numeric metric.

Gauge example uses

You could set up a Geck-o-Meter that displays the number of product sales in a 24 hour period. The minimum and maximum values could be defined as the least and the most number of sales ever recorded in a single 24-hour period. Generally, the minimum will be zero - especially for data that resets daily.

Another use for this type of widget is tracking the number of current visitors on a website with the minimum and maximum defined as the smallest and largest number of visitors seen in a 24-hour period.

Alternatively, you can use this visualization to track sign-ups for a workshop. Perhaps you need a minimum number of attendees to sign-up before you can host the workshop and can only support a maximum number at the event. If you’re targeting an ideal number of sign-ups for the workshop in between a minimum and maximum, set that number as your goal.

Tips for creating gauges

As with all visualizations, consider if this is the best one for your data. If you have limited room on your dashboard, consider using a number visualization instead since they’re more space efficient.

If the context of the range is useful or your data is fast changing and can move both up and down, then a gauge is a good option. When creating a Geck-o-Meter, be mindful of your minimum and maximum. Here are two tips to keep in mind as you choose those values:

  1. Usually the minimum should be zero.
    This is especially true if your data resets daily.
  2. Set the maximum higher than your target.
    If your maximum isn’t higher than your target, the needle will hit the end of the gauge and you’ll no longer see any changes. Plus, it’s always good to set stretch goals.

Start visualizing your key metrics

Now that you’re familiar with a couple of the most effective data visualizations, you can make your key metrics easy to understand and actionable.